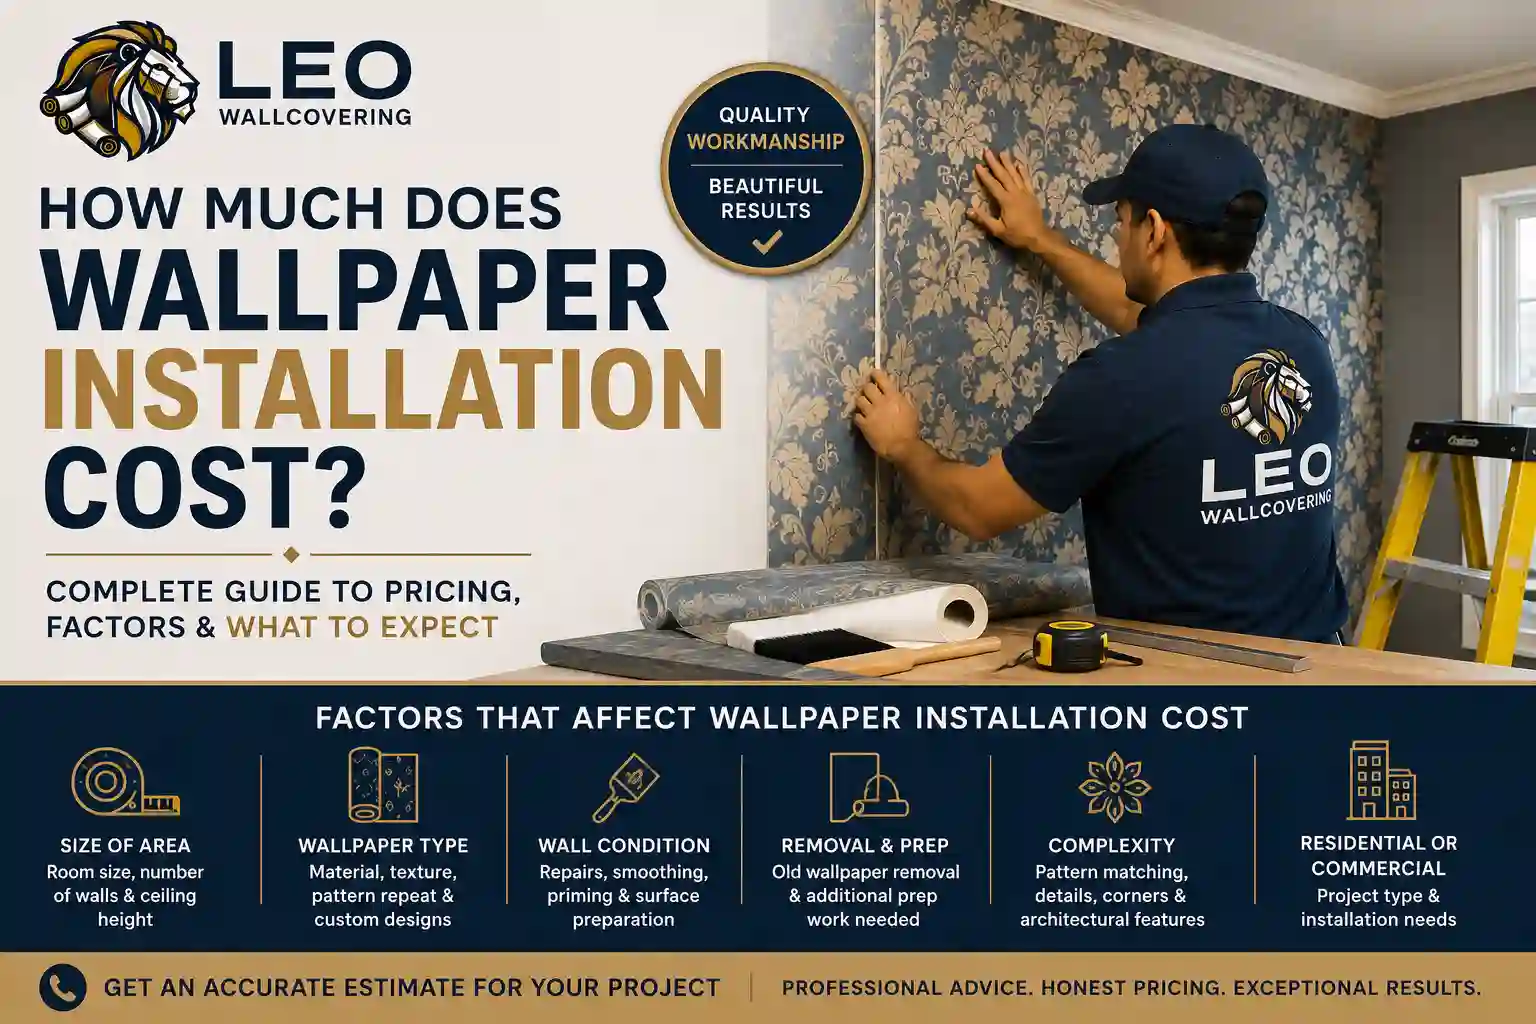


Wallpaper can completely change the appearance of a room, but a successful result depends on much more than placing wallpaper on a wall. Professional wallpaper installation involves surface inspection, wall preparation, accurate measurements, material planning, adhesive application, pattern matching, seam management, trimming, and final inspection.
Whether wallpaper is being installed in a bedroom, living room, office, restaurant, lobby, or another interior space, the condition of the wall and the characteristics of the wallcovering both affect the installation process.
A professional installer evaluates these details before beginning the actual application. This helps create a cleaner, more consistent finished appearance and reduces common problems such as visible seams, bubbles, wrinkles, peeling, and pattern misalignment.
Here’s what the process typically looks like from start to finish.
Why Professional Wallpaper Installation Starts Before the Wallpaper Goes on the Wall
One of the biggest misconceptions about wallpaper is that installation begins when the first piece is placed on the wall.
In reality, much of the important work happens beforehand.
The installer needs to understand:
- What type of wallpaper or wallcovering is being used
- Whether the walls are drywall, plaster, or another surface
- Whether the surface is smooth and sound
- Where patterns should begin and end
- How much material is required
- How the pattern repeat affects layout
- What adhesive or application method is appropriate
- Where seams will be positioned
- How corners, windows, doors, and other openings will be handled
This planning stage is particularly important for patterned, textured, specialty, or large-format wallcoverings.
For homeowners considering a complete project, professional wallpaper installation provides a structured approach that covers everything from surface evaluation to final finishing.
Step 1: Inspecting the Walls
The first practical step is examining the existing wall surface.
An installer looks for conditions that could affect adhesion or the final appearance, including:
- Cracks
- Holes
- Uneven areas
- Previous wallpaper
- Damaged paint
- Rough textures
- Loose material
- Surface contamination
- Potential moisture concerns
Wallpaper can reveal imperfections that may not be obvious on a painted wall. A small depression or uneven section can become more noticeable once a smooth wallcovering is applied over it.
The installer therefore determines what preparation is appropriate before moving forward.
For a broader overview of available installation and wallcovering solutions, homeowners and property owners can also review Leo Wallcovering’s wallcovering services before selecting the right approach.
Step 2: Preparing the Surface
Wall preparation is one of the most important parts of professional wallpaper installation.
Depending on the condition of the surface, preparation may include cleaning, repairing holes and cracks, sanding rough areas, smoothing imperfections, and applying an appropriate primer.
The objective is to create a suitable surface for the selected wallcovering.
Different materials can have different installation requirements. For example, a delicate or highly textured wallcovering may require more careful preparation than a heavier material designed for a particular commercial application.
If the existing surface needs substantial work, learn more about professional wall preparation before the wallpaper application begins.
Why Wall Preparation Matters
Poor preparation can contribute to:
- Uneven wallpaper
- Poor adhesion
- Visible wall imperfections
- Peeling edges
- Difficult seam management
- An inconsistent finished appearance
Preparation does not necessarily mean making every wall perfectly new. It means addressing the conditions that could interfere with the specific installation.
Step 3: Measuring the Walls and Planning the Layout
Once the surface is ready, measurements and layout planning become important.
The installer considers the dimensions of each wall as well as:
- Ceiling height
- Wall width
- Doors and windows
- Corners
- Pattern repeat
- Starting point
- Material quantity
- Placement of seams
Patterned wallpaper requires additional planning because individual strips may need to align with one another.
Simply measuring the total wall area is not always enough. The pattern repeat and layout can affect how much material is actually required.
A professional installer also considers where seams will fall and how the design will look as it moves around corners and across the room.
This planning becomes especially important for feature walls and statement areas. If the goal is to create a focal point, an accent wall installation can use wallpaper pattern, scale, color, and texture to establish a stronger visual feature.
Step 4: Preparing the Wallpaper
The next stage depends on the type of wallpaper.
Different wallcovering materials can have different handling and application requirements. Common categories include:
- Vinyl wallpaper
- Paper wallpaper
- Non-woven wallpaper
- Grasscloth
- Textile wallcovering
- Peel-and-stick wallpaper
- Commercial wallcovering
- Specialty wallcoverings
The material, backing, pattern, and manufacturer’s installation instructions all influence how the wallpaper should be handled.
For example, natural materials such as grasscloth can have intentional variations in color and texture, while patterned wallpaper requires careful attention to repeat and alignment.
If a project involves natural-fiber wallcovering, the installation requirements can differ from standard wallpaper. Grasscloth wallpaper installation is a specialty application where material characteristics and seam placement deserve particular attention.
The goal is to prepare each section correctly before it is positioned on the wall.
Step 5: Applying Adhesive and Installing the Wallpaper
After planning and material preparation, the actual wallpaper application begins.
The appropriate adhesive or installation method depends on the wallcovering.
The installer positions the material carefully rather than simply placing it against the wall and smoothing it randomly.
Attention is given to:
- Vertical alignment
- Wallpaper positioning
- Adhesive coverage
- Pattern placement
- Smooth application
- Edges
- Seams
The wallpaper must be handled carefully during installation because excessive manipulation can affect the material or its appearance.
The installation method also varies according to the manufacturer’s requirements and the specific wallcovering being installed.
For projects involving specialized wallcoverings or large-format artwork, the installation process may require additional planning. Custom wall mural installation is one example where image placement, panel alignment, and the overall visual composition become important parts of the project.
Step 6: Matching Patterns and Managing Seams
Pattern matching is one of the areas where professional installation can make a significant visual difference.
Wallpaper patterns may have different repeats, and adjacent sections need to be positioned so the design flows correctly across the wall.
A professional installer considers:
Pattern → Repeat → Alignment → Seam Position → Overall Design
Seams also need to be handled carefully.
Depending on the material and installation, poorly managed seams may become visually distracting. Correct positioning and careful application help create a more consistent appearance.
Corners require additional planning because the wallcovering needs to transition from one surface to another without disrupting the overall layout.
Step 7: Trimming Corners, Edges, and Openings
Once wallpaper is positioned, excess material needs to be trimmed around areas such as:
- Baseboards
- Ceilings
- Doors
- Windows
- Electrical openings
- Corners
- Other wall fixtures
This stage requires precision.
A cut that is too aggressive can leave a visible gap, while insufficient trimming can leave excess material around an edge.
Corners can also require special attention because walls are not always perfectly square.
The objective is a clean transition between the wallpaper and surrounding architectural elements.
Wallpaper isn’t limited to vertical wall surfaces, either. For projects where the ceiling itself is part of the design, ceiling wallpaper installation requires careful layout, material handling, and finishing because the installation surface is overhead.
Step 8: Final Inspection and Finishing
Professional wallpaper installation does not end when the last strip is placed.
The completed surface should be inspected for:
- Pattern alignment
- Seam appearance
- Edges
- Corners
- Trimming
- Adhesive residue
- Bubbles or wrinkles
- Overall consistency
Small issues are easier to address before the project is considered complete.
The final inspection is also an opportunity to make sure the wallcovering has been applied according to the material’s requirements.
For homeowners who want to review examples of completed wallcovering work before planning a project, the Leo Wallcovering portfolio can provide additional context.
Common Wallpaper Installation Problems
Several problems can occur when wallpaper is installed without adequate preparation or planning.
Visible Seams
Seams may become noticeable when sections are incorrectly aligned or when installation conditions are not appropriate for the material.
Pattern Misalignment
A repeating design can look uneven if adjacent panels are not positioned correctly.
Bubbles and Wrinkles
Improper application or surface conditions can contribute to bubbles or wrinkles beneath the wallcovering.
Peeling
Edges may lift when the surface, adhesive, application method, or environmental conditions are unsuitable.
Uneven Appearance
Wallpaper installed over an inadequately prepared wall can reveal imperfections beneath the material.
These problems don’t mean wallpaper itself is unreliable. They demonstrate why surface preparation, material selection, and installation technique are connected.
Professional Installation vs. DIY Wallpaper Installation
Some wallpaper products are designed to be more approachable for DIY installation, particularly smaller projects with simple materials and straightforward walls.
However, complexity increases when a project involves:
- Large rooms
- Multiple walls
- Pattern matching
- Difficult corners
- High ceilings
- Specialty materials
- Natural wallcoverings
- Commercial interiors
- Extensive wall preparation
DIY installation can also require more time than expected when the installer is unfamiliar with measuring, adhesive application, pattern matching, or seam placement.
Professional installation may be particularly useful when the finished appearance is a major priority.
The right choice depends on the material, wall condition, project size, and installer’s comfort level.
Residential and Commercial Wallpaper Installation
Wallpaper is used in both residential and commercial interiors, but the requirements can differ.
Residential Wallpaper
Homeowners may use wallpaper to create:
- Bedroom feature walls
- Living room focal points
- Dining room accents
- Nursery designs
- Decorative entryways
- Statement walls
For larger residential projects, residential wallpaper services can help connect wallpaper selection and installation with the overall interior design.
Commercial Wallpaper
Commercial spaces may use wallcoverings in:
- Offices
- Hotels
- Restaurants
- Retail environments
- Lobbies
- Reception areas
Commercial projects can place greater emphasis on durability, material specifications, branding, traffic levels, and maintenance requirements.
For businesses planning a wallcovering project, commercial wallpaper installation is a useful next step.
Wallpaper Installation Across Southern California
Wallpaper projects can vary considerably depending on the type of property, room, wallcovering, and design goals.
Leo Wallcovering serves clients across Southern California, including the Inland Empire, Los Angeles, and Orange County.
For homeowners and property owners in the Inland Empire, the Inland Empire wallpaper service area provides a useful starting point for exploring local installation options.
Projects in individual communities may involve different residential and commercial settings. Leo Wallcovering also provides local service information for areas including Ontario, Rancho Cucamonga, and Upland.
For projects farther west, the Los Angeles service area and Orange County service area provide additional information about local wallcovering services.
Rather than treating every installation as identical, the appropriate process should be based on the property, wall condition, material, and intended design.
When Should You Hire a Professional Wallpaper Installer?
Consider professional installation when the project involves a material or surface that requires careful handling, precise pattern matching, extensive preparation, or detailed finishing.
Professional help can be especially valuable when you want to minimize installation errors and achieve a consistent finished appearance.
This is particularly relevant for specialty wallcoverings such as grasscloth wallpaper or custom designs such as wall murals.
The important point is that installation should be matched to the material and the project—not treated as a one-size-fits-all process.
Frequently Asked Questions
How long does professional wallpaper installation take?
The timeline depends on the room size, number of walls, wall condition, wallpaper material, pattern complexity, and amount of preparation required. A simple room can be considerably different from a multi-room or specialty wallcovering project.
Do walls need to be prepared before wallpaper installation?
Usually, the surface should be clean, sound, and suitable for the selected wallcovering. Preparation may involve cleaning, repairs, smoothing, sanding, or priming depending on the existing condition.
Can wallpaper be installed over painted walls?
It can be possible when the existing painted surface is in suitable condition and compatible with the installation requirements. The surface should be evaluated first rather than assuming every painted wall is ready for wallpaper.
Why is pattern matching important?
Pattern matching helps adjacent wallpaper sections visually connect. Without proper alignment, repeating designs can appear interrupted or uneven.
What causes wallpaper seams to be visible?
Seams can become noticeable because of material characteristics, installation conditions, wall preparation, pattern alignment, or improper application. Some materials also naturally have more visible seam characteristics than others.
Is professional wallpaper installation worth it?
It depends on the project. Professional installation can be particularly valuable for complex patterns, specialty materials, large projects, difficult surfaces, and installations where precise finishing is important.
Can professional installers work with different wallpaper materials?
Installation requirements vary by material. Vinyl, paper, non-woven, grasscloth, textile, commercial, and specialty wallcoverings may require different handling, adhesive, and application considerations.
Conclusion
Professional wallpaper installation is a process rather than a single step. A successful project connects wall condition, preparation, measurements, material selection, adhesive, pattern matching, seam management, trimming, and final inspection.
Taking time to plan the installation can help prevent avoidable problems and create a more consistent finished appearance.
If you’re considering wallpaper for a home or commercial interior in Southern California, Leo Wallcovering can help with professional wallpaper and wallcovering installation. Explore the wallpaper installation service or contact Leo Wallcovering to discuss your project.